Cold Email First Campaign: How to Launch Your First Campaign Without Burning Your Domain
A first campaign should answer three questions with real evidence: does the right kind of prospect reply, does the message make sense to them, and does the sending setup hold up? This guide walks the launch in a deliberate order — foundations, list, message, settings, checks — separates what providers actually require from recommendations and vendor advice, and shows what to investigate before you scale.
What a first campaign is for
A first campaign is a test, not a launch event. Its job is to answer three questions with real evidence: does the right kind of prospect reply, does the message make sense to them, and does the sending setup hold up? Everything else — volume, extra segments, a second campaign — comes after those answers exist.
That framing changes how you judge the result. A first campaign that reaches a few dozen well-matched prospects and produces a handful of genuine conversations has done its job, even if the numbers look small. A first campaign that blasts thousands of loosely matched addresses and produces silence has not failed loudly — it has failed quietly, because it taught you nothing about which part went wrong.
The order in this guide follows the order of the work itself: foundations first, then the list, then the message, then the sending settings, then the checks. Writing the email first and sorting out the infrastructure afterwards is one way a first campaign goes wrong: by the time a problem surfaces, mail has already gone out carrying it, and the early sends to a small list are the ones you can least afford to waste.
Step 1: Put the foundations in place before you write
Three preparations come before a single cold email goes out, and they are not all the same kind of step. One of them — authentication — is something inbox providers themselves specify, with a defined scope. The other two — a separate sending domain and a gradual start — are operational recommendations: widely advised, and followed in this guide, but not provider requirements. Keeping those categories separate matters. A recommendation followed perfectly cannot substitute for a requirement that was missed, and meeting a requirement does not make the recommendations unnecessary.
First, consider a separate sending domain, rather than your main business domain. This is a considered recommendation, not a rule providers impose. Your main domain carries your everyday mail — invoices, support, conversations with existing customers. Keeping cold outreach on its own domain keeps the outreach history distinct from that mail, so a campaign that performs badly does not share its record with the mail your business runs on. Treat the separate domain as an asset to protect, not a disposable one to burn and replace: separation does not guarantee isolation, because providers judge a sender by more than one identity, and it does not make poor list or copy practices safe. A close variant of your brand name is the usual choice, and it should point visitors at your real website so anyone who checks it finds a genuine business. One related distinction does come from a provider: Google counts messages toward its bulk-sender threshold by primary domain, so a subdomain of your main domain is not the same separation as a different domain.
Second, authenticate the sending domain — this one is a provider requirement. In Google's email sender guidelines, every sender to personal Gmail accounts must set up SPF or DKIM, and bulk senders — close to 5,000 or more messages a day to personal Gmail accounts — must set up SPF, DKIM, and DMARC. Google also recommends setting up all three whatever your volume. SPF lists the servers allowed to send for the domain. DKIM signs messages so receivers can verify they came from the domain and were not altered in transit. DMARC builds on both, with a precision that matters: a message passes DMARC when SPF or DKIM passes and the authenticating domain aligns with the domain in the From: header. DMARC does not require both mechanisms to pass on every message. The scope is set out in the guidelines and Google's sender guidelines FAQ. What happens without authentication is narrower than the usual warning: Google says messages that are not authenticated might be marked as spam or rejected. That is a risk worth removing before launch — not a certainty about any single message.
Third, plan a gradual start. A brand-new mailbox or domain has little or no sending history, and Google's guidance includes increasing sending volumes gradually. Building volume gradually with real, legitimate sending is one thing; an automated warmup service is another. Warmup services manufacture exchanges between mailboxes to simulate engagement, and manufactured engagement is not evidence that real prospects want the mail. The vendor guides reviewed for this article recommend warmup periods of roughly two to four weeks — treat that as vendor advice about a preferred preparation, not a provider requirement and not a promise. No elapsed period, of either kind of ramp, makes a mailbox ready in a way that guarantees inbox placement once real sending starts. What a gradual start does give you is smaller exposure while you learn, and the early low-volume period is when the list and the copy should be built and checked. Our guide to email warmup vs inbox rotation covers the difference between the services and rotation in depth.
Step 2: Start with a small, tight list
A first campaign needs a list small enough to learn from and tight enough to write to. A few dozen to a few hundred well-matched prospects will tell you more, faster, than thousands of loose matches. Smaller batches also limit your exposure while you learn: fewer messages are affected by any problem, and the results stay small enough to investigate properly. That is a limit on exposure, not a guarantee — a small batch does not protect a domain by itself, and a quiet one does not prove the message or the setup is right.
Tight means one segment, not a category. “B2B companies” is not a segment; neither is a job title on its own. A segment you can write one honest message to sounds more like this: companies of a certain size, in one or two industries, in one region, where the person you are writing to owns the problem you solve. If you cannot describe the segment in one sentence without reaching for “and also,” split it and run the second segment later.
Verify every address before it goes into the campaign, and remove duplicates, role addresses such as info@ or sales@, and anyone already in another campaign or on your suppression list. Verification earns its place because bounces are not just wasted sends: a batch that bounces heavily tells inbox providers something about the quality of your sending, and it spends your smallest, most informative batch on addresses that could never reply.
Step 3: Write a short sequence, not a single email
A first campaign needs a sequence because a single email is easy to miss. Prospects skim during triage, mean to reply later and forget, or never see the message at all. Plan an opener plus a small number of follow-ups, each one adding something the previous message did not — a different angle, a relevant example, a clearer statement of who the offer is for. A follow-up that only says “just following up” gives the reader no new reason to reply, and repeated versions of it train them to ignore you.
Keep the opener short, plain, and easy to answer. One specific observation about the recipient or their company, one or two sentences on what is in it for them, and one low-friction ask — a short call, a yes-or-no question, a reply with a time that suits them. Minimise what the reader does not need: unnecessary links, attachments, and decorative images add weight without adding a reason to reply. Keep what has to stay, though — the unsubscribe mechanism and clear information about who is sending are not decoration, and removing them is not a deliverability tactic. Write the subject line to describe the message accurately; how a subject line sounds does not by itself decide promotional classification or spam placement, which depend on much more. Follow-ups should be shorter than the opener. Design the sequence to stop for a prospect when they reply or opt out — and understand what that rule depends on: the stop takes effect when the reply or opt-out has been detected and processed, which happens after the reply itself, not at the instant of it. In SendMatico, follow-ups are delay-based and stop for a lead whose reply is detected, as the follow-up guide linked below describes; whatever tool you use, set the stopping rule up before launch rather than relying on catching replies by hand. Our reply detection guide covers how detection fits into the workflow.
| Step | Purpose | Length |
|---|---|---|
| Email 1: the opener | One specific observation, one idea, one ask | Short — one screen |
| Follow-up 1 | A new angle or a clearer statement of fit | Shorter than the opener |
| Follow-up 2 | A relevant example or a different use case | Shorter than the opener |
| Final note | A polite close that leaves the door open | A few lines |
For the timing and stopping rules behind this shape, our guide to follow-up sequences covers touch count, spacing, and when a sequence should end. The sequence table above is a starting shape to adapt, not a prescription — your audience and your offer decide the final version.
Step 4: Set conservative sending settings
A first campaign should send slowly. Set a conservative daily cap for the campaign and for each sender, and see how the first batch behaves before you raise either. Volume is the easiest thing to increase later and the hardest thing to take back once it has hurt a new domain's reputation. If you later need more volume, spreading it across additional mailboxes or domains is one option — but additional mailboxes do not by themselves make higher volume safe, as the launch-week step explains.
Set the sending window in your prospects' working hours, not your own. In SendMatico, the campaign's Settings tab holds the Schedule section, where you set the window, the campaign timezone, the active days, and the maximum emails per day. Our guide to sending windows and timezones explains those controls in full. One practical point for launch day: if you start a campaign after that day's window has closed, the first sends will wait for the next open window. That is the schedule working as set, not a fault — so check the window before you judge whether anything has gone out.
Keep the campaign to one region and one segment for now. A single campaign carries one timezone and one window, so prospects spread across distant regions belong in separate campaigns with their own settings, once the first campaign's results support expanding. Trying to serve every region from one first campaign forces a compromise window that suits nobody well.
Step 5: Run the pre-launch checks
Before anything goes to a prospect, send the whole sequence to yourself and read it as a stranger would. Check every personalisation field with real sample data: a name in the wrong case, a company name that reads oddly inside your sentence, or an empty field where a detail should be are all easier to catch here than after sending. Read the subject line on its own: it should describe the message accurately and not promise anything the email does not deliver.
Then confirm the mechanical pieces: the opt-out route works, opt-out requests are honoured and the addresses stay suppressed, the suppression list is applied, the list has no duplicates and no one already in another campaign, and the sending window, timezone, active days, and daily cap are the ones you intended. A test send that lands in your own inbox and reads correctly is the last check, not the first — it confirms the message, it does not replace the checks above it.
Step 6: Launch small, then watch the right numbers
Launch to a small batch first — a few dozen prospects — during your prospects' business hours, and watch bounces and replies for a few days before scaling. If the first batch bounces heavily, pause and clean the list rather than sending the rest into the same problem. Treat deferrals with the same care, and define them precisely. A deferral is a temporary SMTP failure: the receiving server replies in the 4xx class, which RFC 5321 defines as a transient negative response — the action did not happen this time, but may succeed when tried again. The causes vary: the RFC's own examples include a mailbox temporarily blocked for policy reasons, a processing error, and insufficient system storage, and rate limiting is another possibility. Read the SMTP code and the response text, follow the provider's retry guidance, and reduce sending where a rate limit or the wider pattern warrants it. A deferral alone does not prove the volume is too high or the list is bad.
Judge the campaign on replies and meetings, not on opens. Open tracking is unreliable — privacy features prefetch messages and inflate open counts — so treat opens as, at most, a rough directional signal. A high recorded open count with few replies does not prove the subject line worked and the message failed: targeting, the offer, the copy, placement, timing, and the measurement limits of open tracking itself can all contribute, and a small first batch cannot separate them. Read the replies you do get closely, and count them honestly — separate genuine human replies from automated responses such as out-of-office messages, which are not engagement. Bounces, deferrals, complaints, and reply quality together are the better basis for deciding what to fix next. If placement itself is in question, our inbox placement guide covers how to test where mail actually lands; this guide stays on the launch decisions around it.
Grow only on evidence, not on silence. Before increasing volume, investigate what the first batch showed: bounces explained, deferrals understood, any complaints looked into, and replies that suggest the message reached the right people. Treat an absence of observed complaints cautiously — complaint data depends on the provider and the reporting route, some providers report only part of it, and filtering can happen without any complaint signal reaching you, so no complaints seen is not proof that none occurred. Then grow gradually — a larger batch, then a second segment, then a second campaign — repeating the same checks at each step. The habit of checking before scaling is what keeps a fixable problem in the first batch from becoming a larger one across the domain and the list you have just built.
Mistakes that burn a first campaign
- Sending the first campaign from the main business domain without considering a separate sending domain for outreach.
- Launching before authentication is properly configured and passing, or treating a warmup period as a guarantee of readiness.
- Loading an unverified, loosely matched list because a bigger list felt safer.
- Writing one long opener that pitches the company, the product, and the ask all at once.
- Sending follow-ups that repeat the ask instead of adding a new reason to reply.
- Launching to the whole list at once, so an untested message spends your best prospects.
- Judging the launch on opens instead of replies, or scaling because no complaints were observed — without investigating bounces, deferrals, and reply quality first.
- Ignoring the first replies — including the rejections — instead of using them to fix fit and copy.
First-campaign launch checklist
Work through this list in order. If an item is not true yet, fix it before launch — every check on it is easier to run before mail has gone out than after.
Before you launch
- The sending-domain decision has been made deliberately and its tradeoffs reviewed — including whether outreach runs on a domain separate from everyday business mail — and the chosen domain is treated as an asset to protect, not a disposable one.
- Authentication is properly configured on the sending domain: SPF and DKIM set up, DMARC published, and alignment checked — a DMARC pass needs an aligned SPF or DKIM pass, not both on every message.
- A gradual start is planned: small initial volumes of legitimate sending, with any increase tied to reviewing the previous batch’s bounces, deferrals, complaints, and replies — and no warmup period treated as a readiness guarantee.
- One tight segment, verified, deduplicated, with role addresses and suppressions removed.
- Opener plus follow-ups written, each follow-up adding something new; the sequence is set to stop when a reply or opt-out is detected.
- Sending window, timezone, active days, and daily cap set conservatively for prospects’ working hours.
- Full sequence test-sent and read as a stranger, with every personalisation field checked on sample data.
- Monitoring and expansion criteria are set before launch: a small first batch; the signals you will watch (bounces, deferrals, complaints, replies); and the rule that actual batch results are reviewed — and any problems investigated — after sending and before any increase in volume.
A first campaign done this way is deliberately unglamorous: small list, short emails, slow sending, careful checks. That is the point. What it produces is evidence — what the first batch actually did, what real prospects said, and what to fix next — a baseline you can grow from step by step, checking as you go, instead of a launch you have to guess about afterwards.
Continue reading
More guides on agency cold email, deliverability, and outreach operations.
Cold Email Inbox Placement: Seed Tests, Postmaster Tools, and How to Find Where Your Mail Lands
Delivered is not the same as placed. Learn how to test cold email inbox placement with seed tests, spam-score checks, and Google Postmaster Tools — and how to read the pattern when mail lands in spam or Promotions.
Cold Email Follow-Up Sequences: Timing, Touch Count, and Stopping Rules
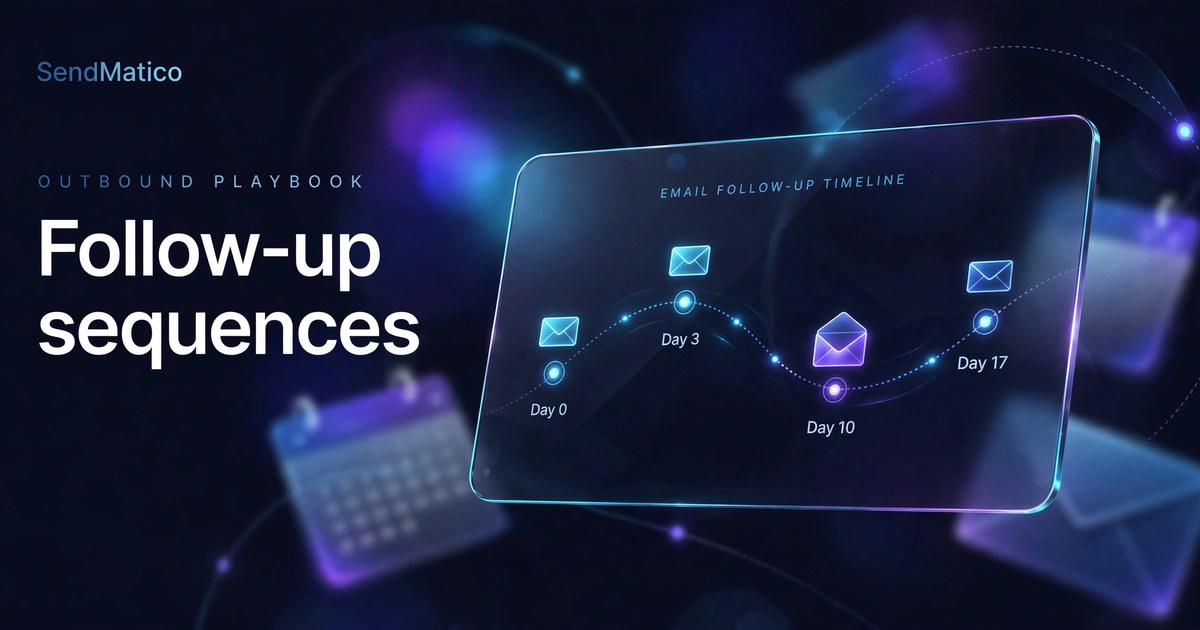
Design cold email follow-up sequences that win replies: how many touches, the 3-7-7 cadence, what each touch should do, stopping rules, and building it in SendMatico.
Cold Email Sending Windows and Timezones: A Practical Setup Guide
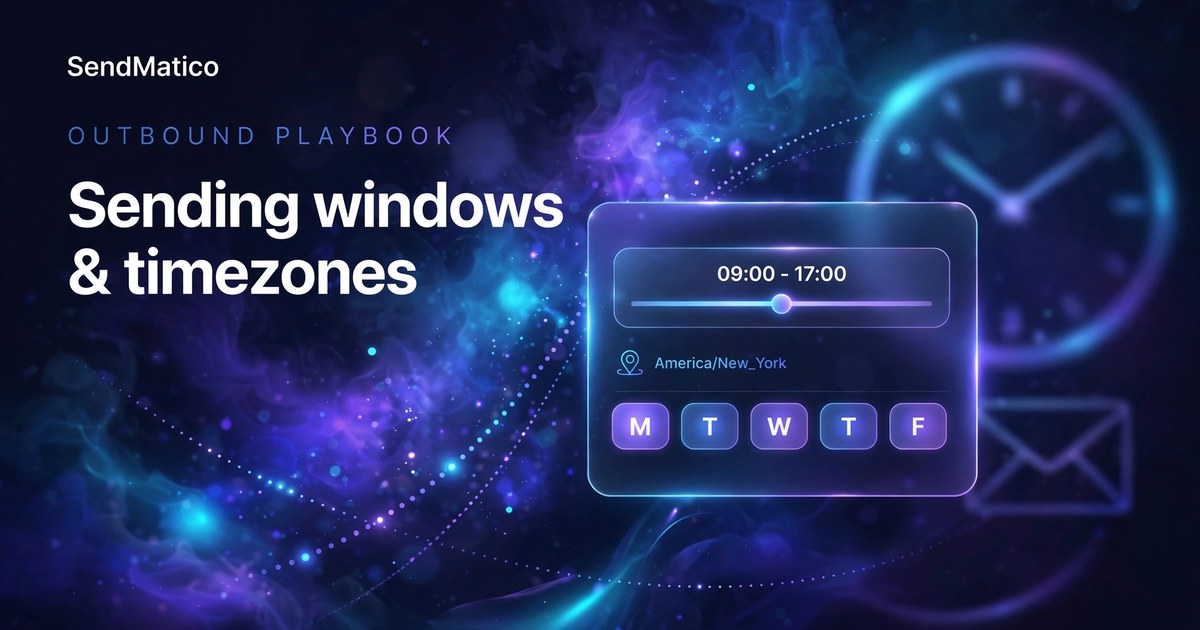
Learn how to configure sending windows and timezones for cold email campaigns in SendMatico — schedule controls, daily caps, and practical setup patterns.
Ready to run outreach?
Start with free trial credits or book a demo to see SendMatico in your workflow.